Showing posts with label DIY. Show all posts

Saturday, November 19, 2011

Out of the ashes arose...

A Card Box!!!

Yeah, that's a little dramatic but this project was almost a basket as in, "I'm just gonna throw a basket on the gift table and call it a day!" But DC2 would have NONE of that! She'd already gifted me the cardboard boxes that went unused for her big day (she opted for round boxes) and the "H" was already spray painted (NO returns!). So it was time to get CRAFTY!!!

First, CTE pitched in and painted the boxes:


The smaller box had a grapevine imprint on it. Since that did not go with our theme, I needed to cover it up with a strip of wide blue ribbon (see above). That hid the vine action but looked really plain. So I topped it with a skinny pink ribbon and repeated the same on the larger box.

On one of our marathon Michael's run, DC2 & I had picked up some wooden letters to spell out "Hawkins". So I layed those out on a strip of blue painters tape and painted them "fuchsia". Don't believe me? Here it is:


Maybe my eyes are playing tricks on me but this "fuchsia" looks more like "pepto bismol" pink to me...


Oh well! It's on there now (If I have time, I'll see if I can find a true "fuchsia" and paint it again but I AM NOT gonna worry about it)! Since I had a ton left over from the Table # project, I added the sparkly doodads to the corners.

Next up was the dreaded "H". I said dreaded because I initially wanted to cover it with our Engagement pics. But my initial project plan was thrown off when I printed the pictures vertically instead of horizontally. Plus, it turned out that I did not have enough unique shots to cover the whole thing. Double plus, I had underestimated navigating those corners! Though I fancy myself a crafty DIYer, this was only my second time popping open a jar of Modge Podge (MP) and I kept second guessing my plan. Triple plus, the dang price tag left a rough spot when I removed it. I probably wasted a good 2 weeks fretting about how I could cover that up - ribbon, spackle, sand it, start over, trash the "H"???

SO I kept procastinating about starting it...Even today, I left it to the end! But DC2 has been on TOP of my task list (that's another post) so T.H.A.N.K.S. to her, I can proudly say that I FORGED AHEAD!!!

First, I laid out the pics using blue painters tape. I left a little edge around each so the underlying silver could "frame" each image. Once I had a good layout, I cracked open the MP and went for it! Once the pics were in place, I went back to my overflowing stash of sparkly doodads (already open so again NO returns) and glued a row down each side. I have to say that after all that hemhawing around, this wasn't NEARLY as hard as I'd drummed up in my head. And, if I may so myself, turned out pretty darn good!


I haven't yet cut a hole in the box. I'm going to consult an expert (DC2) in the matter before I do. But I've done enought to o-fficially cross this off my "To Do" list! I am pleased with the final result. I am especially tickled that I managed to get her done WHILE writing a blog post about it!


DC2 - I hope you're proud of me!!!


Saturday, October 29, 2011

A Touch of Sparkle!


I purchased my wedding shoes months ago from DSW. The height and color made them a perfect selection.


But they were a little plain so I added "A Touch of Sparkle" to spice them up a bit:


I have a bit too much glue peeping out of the sides but I'm working on cleaning that up. You can't see it just looking down on them but the camera doesn't miss it!


Friday, June 24, 2011

PhotoBook...FREE


Savemore.com has a great deal TODAY!! If you sign up with them you get a $10 credit and they have a Large 20-page Photobook from PhotoBin for only $8.50!! YES that's right...you'll have some change left over! :o)

Click here and get your deal today! The deal expires in two days, but can be used until December 27, 2011. 4 months exactly from our wedding date! :o)

You can use this as your wedding album or even as your Photo Guest Book. Something very different that your guest will love! Shoot.........for FREE you need to get this and use it for ANYTHING!! :o)

Don't say I've never share anything with you! HA!!

CHOW!!!!!

E=DC2

Monday, June 13, 2011

Double digits???


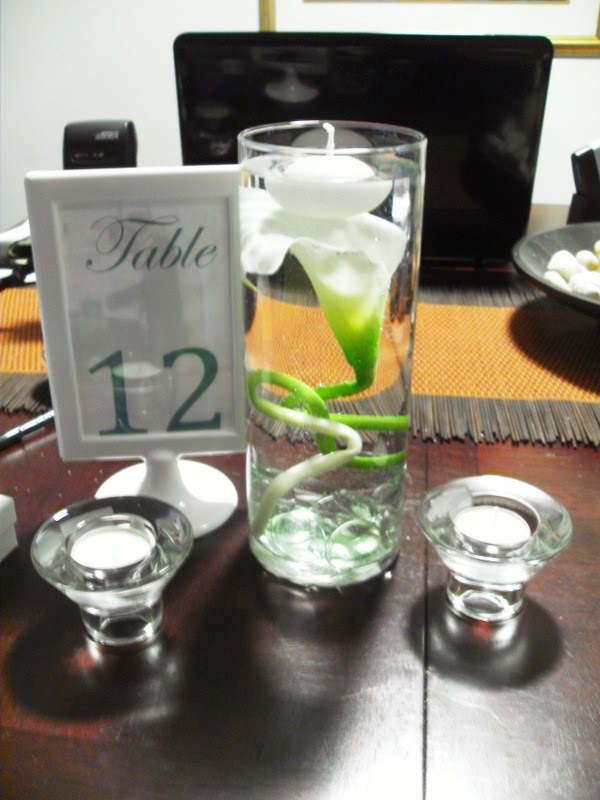
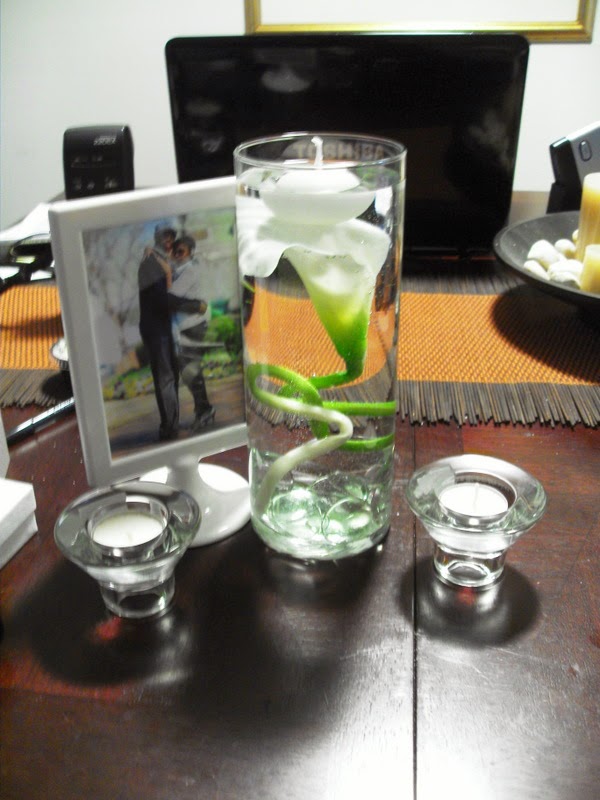
Goodness you really start to feel the pressure when your countdown has double digits!! Finally did a centerpiece mock up! So I'm feeling better about that! I know exactly what I need.

I made table numbers and put them inside the frame and on the other side is a picture of us. I submerged a callalily in the cylinder and added rocks at the bottom! I'm debating the green water. I may just do green rocks/jewels...you get the point! Right? LOL!!

We will also be adding votive candles and rose petals. I plan to do a table mock up this week as well!

Whew...75 days to go!!

E=DC2

Wednesday, May 4, 2011

Very productive weekend!

Tons of wedding items were scratched off the list this weekend! I am soooooooooo happy!!! It started when my best friend said she would come over and help me with me veil. She and another bridesmaid came over and we knocked so much stuff out.

Of course we got side tracked SEVERAL times. It felt like the good ole days. The three of us used to live together! :) So sitting around watching "Martin" and eating chips brought back lots of memories! LOL!!

But we DID get work done.

First up was the veil...

Now I know E does NOT read this blog. But it would really be my luck to post a picture here and he for some reason read THIS VERY POST! Sorry no pic! LOL!! I'll post to weddingbee! HA!

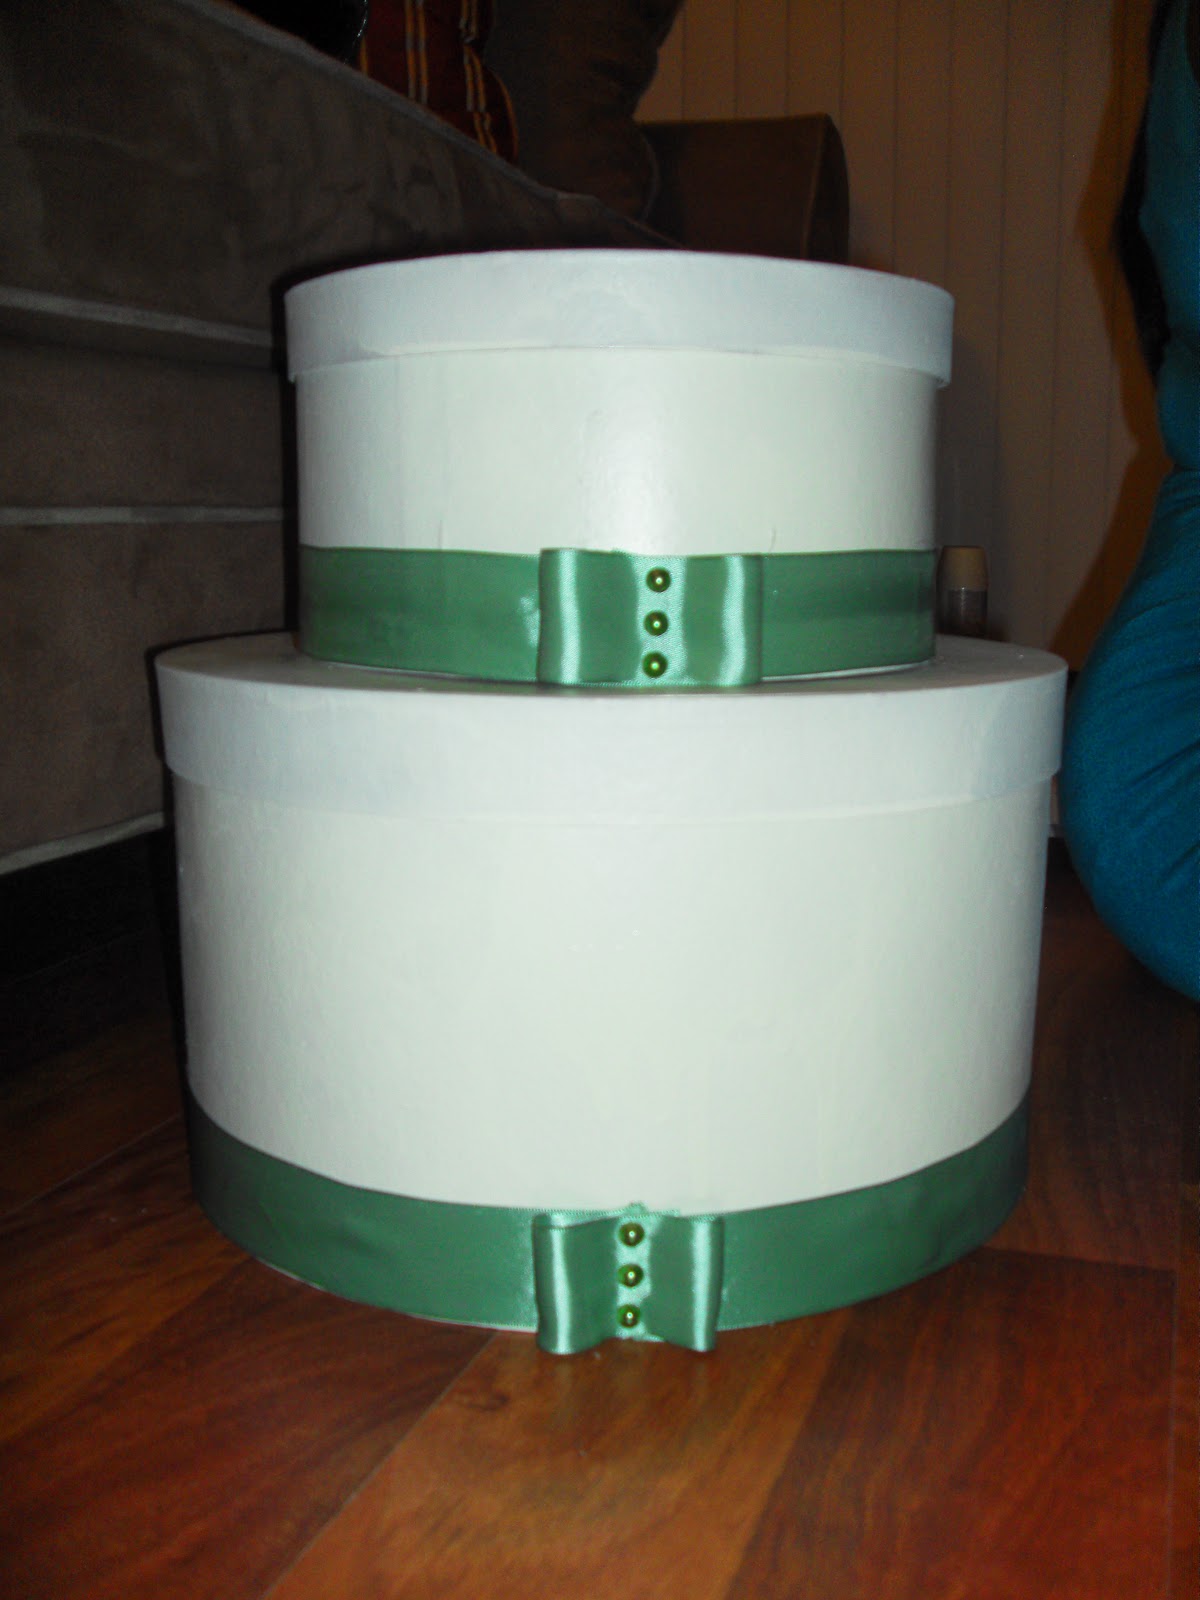
Then the card box. YES... finally finished the card box! KIND OF...HA!! I plan to add a few flowers to it later. But for the most part it's done...right??? LOL


We also finished all of the flowers. The corsages, boutonnieres, two bouquets for the moms, and the aisle enders for the ceremony.

Sidenote-I also ordered the menu cards and they came in without THREE days!

I'll post more pics of all that in another post! :o)

Next on the list is working on a mock up of my centerpieces and invitations! WHOOP WHOOP!

E=DC2

Thursday, March 24, 2011

Card Box...in progress

I just want to shout out to the best fiance EVER!!!!!!!!!!

He painted the cardbox all by himself!! :o) No seriously...he is an artist so I trusted he would know what to do. Well he painted the boxes with the first coat of paint. We have to go over them again and of course we have to add the details!

We are hoping that this


Card box with first coat of paint...and the C will not be sitting on top! I just did that for effects! :)

will soon be THIS! :)

 well not this but something like it :)
Just thought I'd update you guys on the progress!

E=DC2

Thursday, March 3, 2011

For REAL first DIY project

HOW COULD I FORGET!?!??!

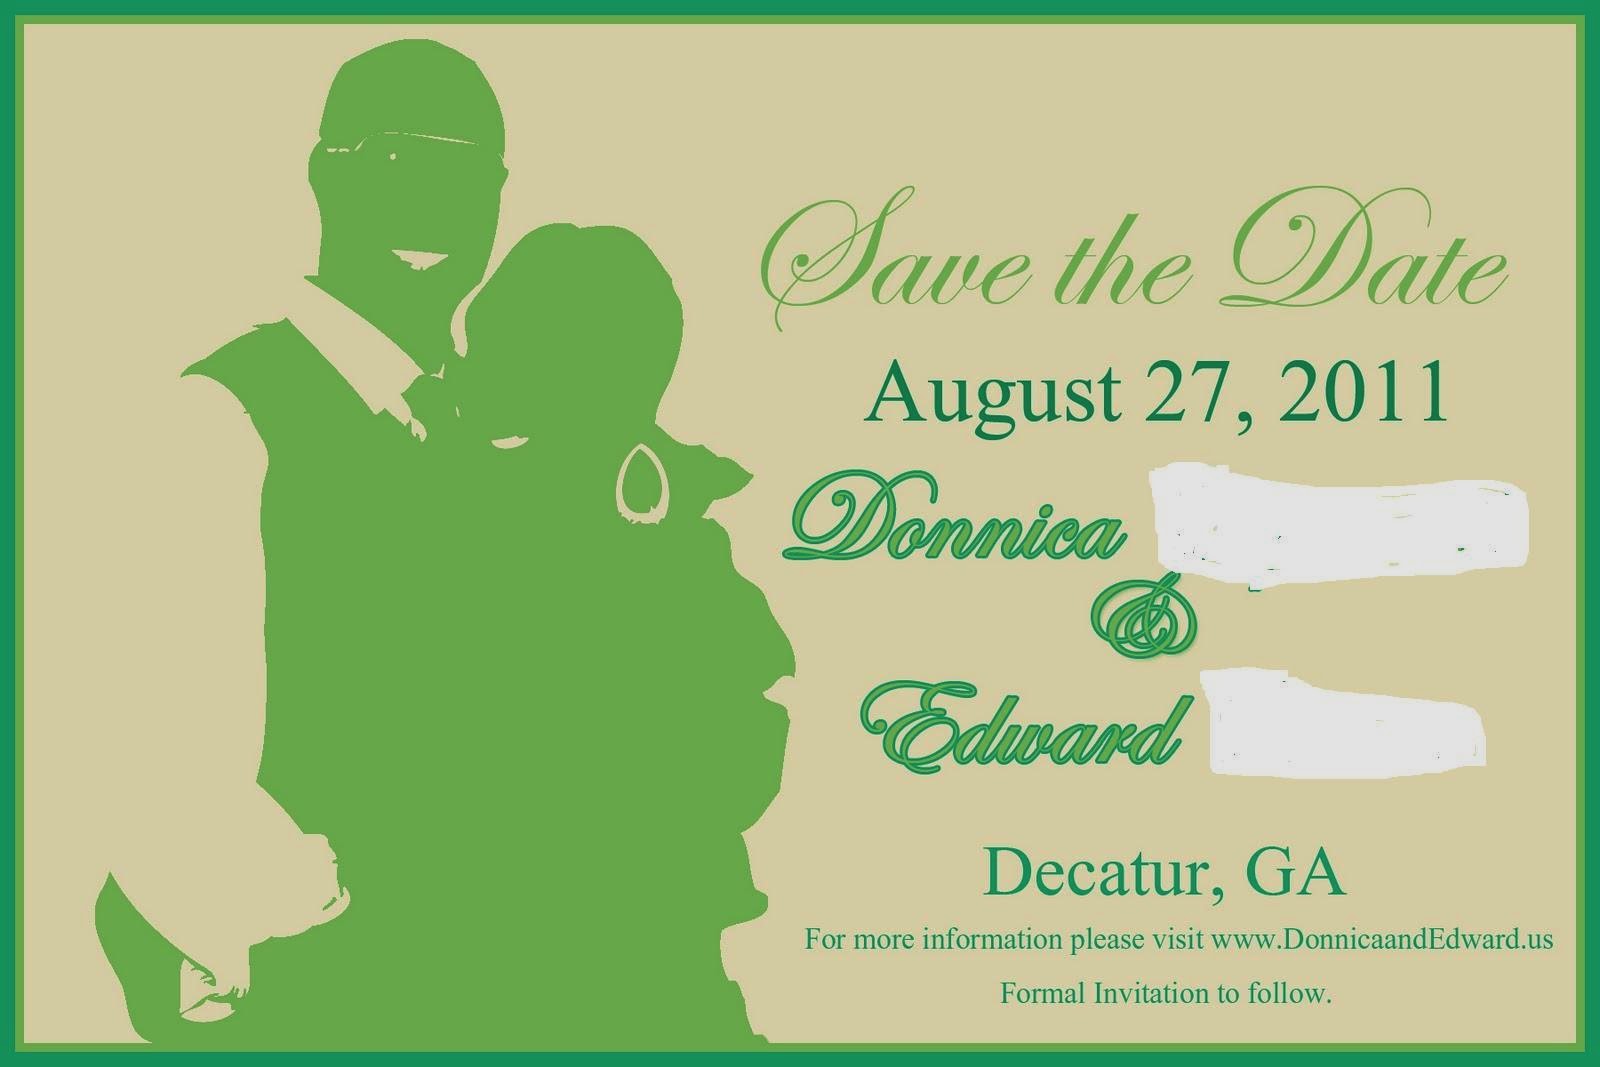
Our first DIY project was our Save the Dates!!!


For the record...I will NOT be abbreviating Save the Dates! I'm going to just go ahead and type it all the way out! :o) WHEW...gives me the heeby geebies! LOL!!

We sent these out already and everyone has theirs!


YAYYYYYYY!! And guess who actually did these??? THE FIANCE!!! YES...isn't he great?? HA! Okay... enough already!

E=DC2

Monday, February 21, 2011

First DIY Attempt

I tried my hands at the boutonnieres. For the sake of not wanting to spell that out several times we are going to refer to them as BOUTONS from here on out (Thanks Stephanie) LOL

I know my first attempt was supposed to be the Card box...but I kind of got excited about these boutons and figured it may be easier! Plus I had all of the materials already!


I did one green and one white Calla Lily! And then used green orchids to spruce it up! I took a strand of ribbon and circled around the stems and they are being held in place with the bouton pins. Debating on whether to use a glue gun or some fabric glue to hold it in place.

This has really given me a boost and I'm ready to DIY my way to the alter! LOL!!

What you guys think? Have any pics of your DIY projects?

E=DC2

Thursday, January 6, 2011

DIY vs. LTDI Cardbox

YESSSSSSSSs...I made up LTDI! :)

LTDI- LET THEM DO IT

Soooooooooo Do-It-Yourself or Let-Them-Do-It??

I was starting to feel like I didn't have enough DIY projects. I've made an handy list and I'm starting to get excited about trying them out!! I'll keep you all updated as time goes along.

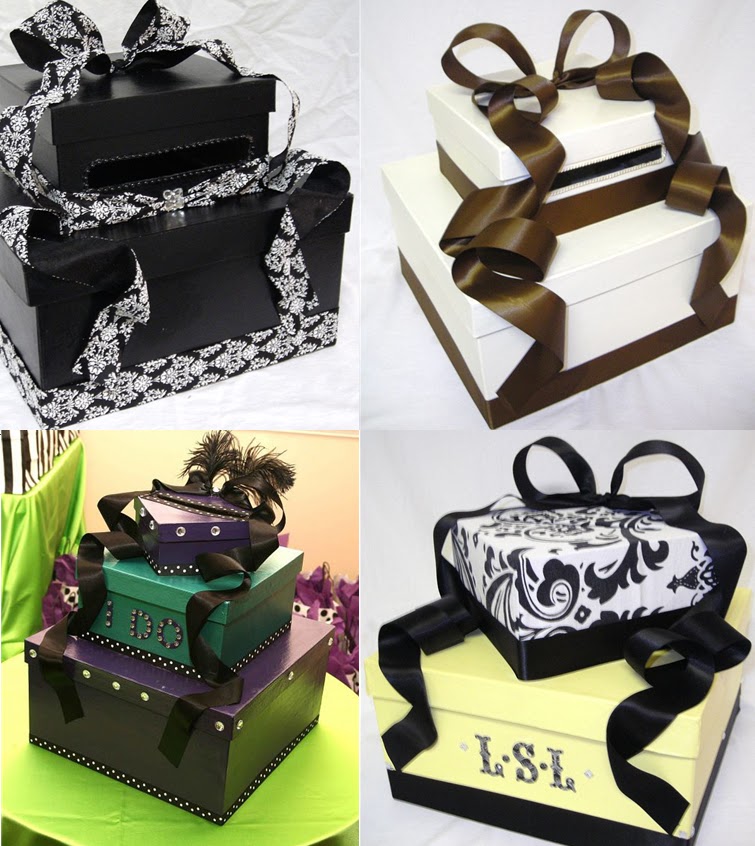
First up on the list is a card box. I found these at http://www.creativecustomcardboxes.com/ an absolutely FELL IN LOVE!!!

What do you think??

DIY or LTDI???

E=DC2

Friday, December 24, 2010

Shoe Remix

OK...  Here we go!  I LOVE crafting.  It makes me happy!  I ADORE shoes, they delight me as well.  So... my latest idea is meshing both of my loves together, so I am really at a blissful state!  I have been looking online at shoes for quite some time.  The first shoe that I noticed online that caught my eye was on Etsy

I... yes, the frugalista herself, was going to splurge and purchase some shoes for over $100!  But, I kept looking and started finding some other links that caught my eye that involved my favorite 3 letter acronym... DIY!   
So, it appears that SOME folks have lost their ever loving mind.  Not only do they purchase some shoes that are between several hundred and thousands of dollars, but they also watch fashion shoes to see that Christian Laboutin (might be misspelled, I can't commit the proper spelling to memory) likes to modify his shoes for the runway.  He calls the process 'strassing', in my world, we'd call it bedazzlement (ha!).  Sometimes he will make them for the world, other times, he does not provide his fans a way to purchase the items.  So, they purchase his VERY expensive shoes, then purchase some VERY expensive crystals to put on the shoes in order to create their own duplicate version of his product.  WOW

So, I have studied the blogs, videos, etc to see if I can do something similar based on my own tastes, purse, and style.  Here are a few examples of what I have located:


Cute... right?  There are tons more ideas.... those are just a few!  So, I have been studying for weeks and finally decided to go ahead and hop in the water and test it out for myself!  I checked out DSW sale racks:


I decided to use this shoe as my first example because it was such a simple design.
Plain top View

Plain Side View

Point of No Return...

Side View

Top View

Another Angle

Together
Not bad for a first time,I had a blast doing them! I can't wait to do another pair,I think I've started a habit!  After all of that, just moments before Christmas, I have finally decided the ONE GIFT that I want!  This magical tray that makes all of the rhinestones to go right side up with a simple shake of the tray.

Thursday, October 7, 2010

Monograms

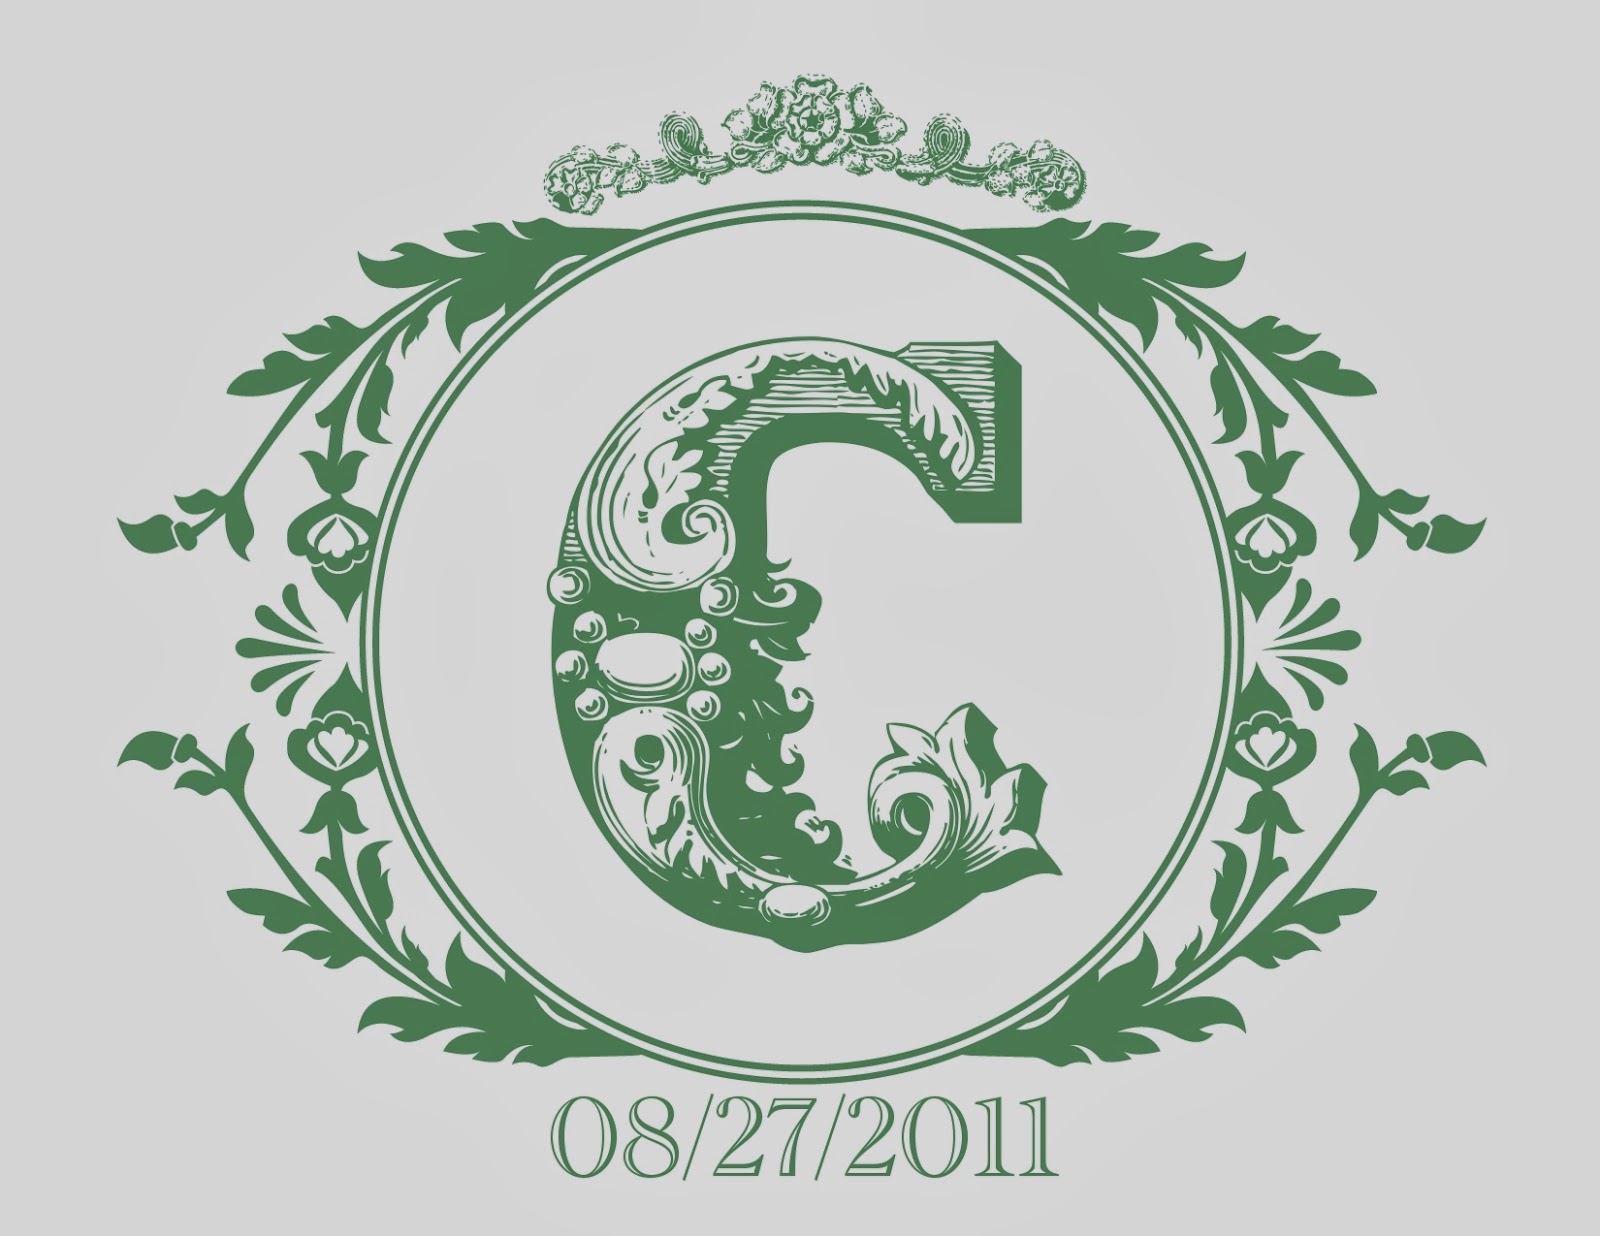
Called me obsessed. I do not care!! I feel like this is a MUST!!!!!!!! I'm so in love with monograms!!! I HAVE to have one. I really want to get put onto a rubber stamp that I can use for mulitple projects.

Have any of you tried to DIY? If so, any suggestions of where I should start? Know anyone that could do a monogram and then put on a rubberstamp?

I've heard that power point and photoshop and the first stops. I'm going to try it and see what I can come up with.

ANY ideas or resources are greatly appreciated!!!

In the meantime...what do you think of the one I've posted??

E=DC2